Workshop Topic:
https://docs.google.com/presentation/d/1ekwDj2mvsFeS4DefUoaNJZ6EW0fPLIE3qf-EaGubhZg/edit?usp=sharing
----------------------------------------------------------------------------------------------------------------------
For the trainer

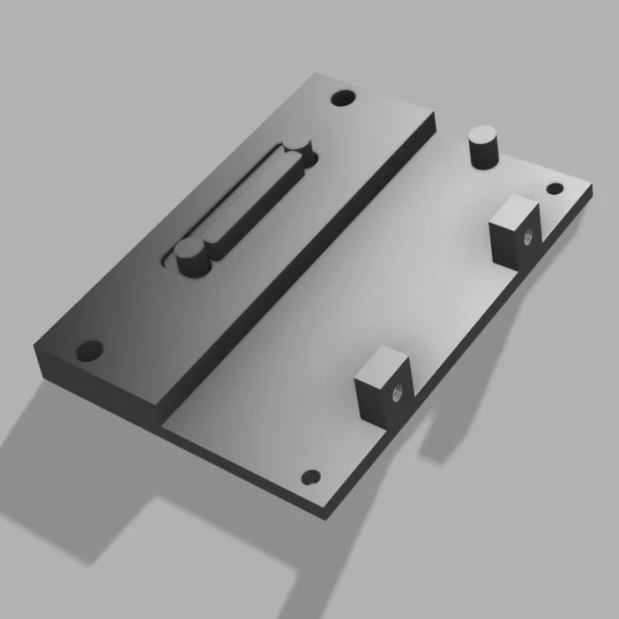
CAD Assembly and Machine Option (Blowing)
We recommend assembling it with steel; aluminum can work, but students tend to damage it by tightening too hard.
The blowing system should be 3D printed, and the nozzles can be printed or machined.
A V2 of the assembly will be available by summer for better clamping. Students tend to lift the raw material by overtightening.

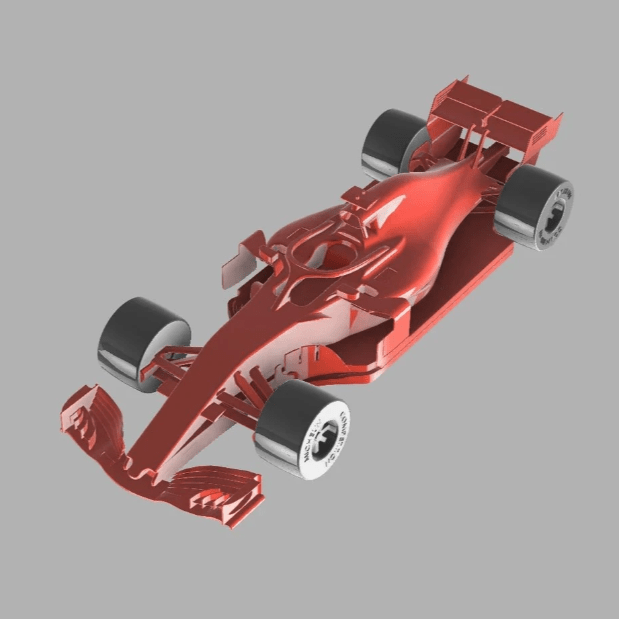
CAD Car and Corrected Programs
The student CAD file is in STEP format and should be placed in a folder named "CAM Workshop - FUSION 360" on the desktop of the PC.
A "correction" file in .F3d format (as seen in the video) is available in the archive, along with 2 functional programs on the desktop (Check cutting conditions according to your tools and materials).

Raw Material, Wheels, and Other Useful Supplements
We recommend a RAW MATERIAL of 146 x 50 x 30.5 in PVC. We cube our own raw materials, so we have flexibility with dimensions. However, you can change the raw material and adjust the configuration (CAM) accordingly. Please be aware of the limited Z height on the DESKTOP.
The WHEELS, 3D printed, enhance the final appearance of the scaled model.